

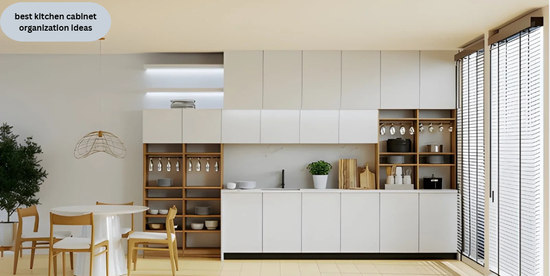
The best kitchen cabinet organization ideas add vertical shelves, pull-out trays, and drawer dividers so every item has a reachable spot. Sort cabinets by task, such as baking, cooking, and cleanup. Store each item where you first use it, like pots near the stove. Move rarely used pieces to the highest and lowest shelves.
What changes the answer most is how much storage your cabinets already hold. The National Kitchen & Bath Association recommends 1,400 inches of shelf and drawer frontage in a kitchen under 150 square feet. If your total falls short, you need more tiers, and kitchen organization ideas that only rearrange items won’t close the gap.
Pick your first fix by kitchen type
Start with the cabinet you open most, then match the next upgrade to your situation.
| Your situation | Short answer |
| Small kitchen, few cabinets | Add a tier to every cabinet near the sink |
| Deep base cabinets where things vanish | Install pull-out trays |
| Renting, no drilling allowed | Use shelf risers and over-door racks |
| Crowded drawers | Add dividers, one slot per tool |
| Tight budget | Clear duplicates, then add risers |
Match the best kitchen cabinet organization ideas to each cabinet type
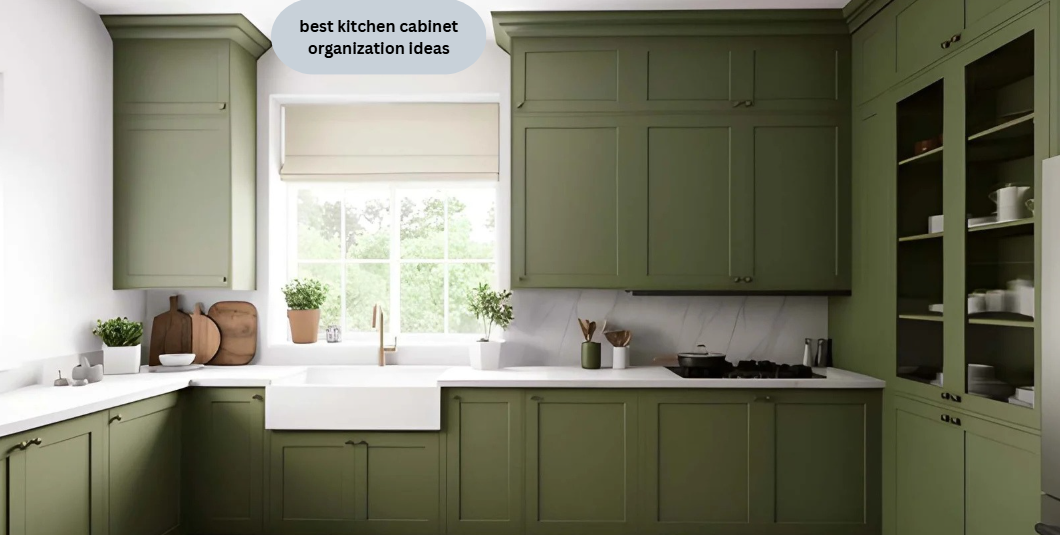
Match the upgrade to the cabinet’s depth: trays for deep base cabinets, risers for shallow wall cabinets.
- Pull-out trays bring the back of a base cabinet, typically 24 inches deep, to the front.
- Shelf risers add a second tier inside a wall cabinet, typically 12 inches deep.
- Drawer dividers give each tool a fixed slot.
- Door racks turn the back of a cabinet door into storage for spices and lids.
Deep base cabinets hide items at the back, and the problem shows up inside home kitchens of every size. A tray that glides out ends the dig-and-stack routine.
Renovators already lean this way. Houzz’s 2026 Kitchen Trends Study, built on a July 2025 survey of Houzz users renovating kitchens, found that 94% added specialty storage features. Pull-out waste bins led at 64%, and tray drawers followed at 55%.
Those are renovators, not all homeowners. Read the numbers as what people choose when they spend, not what the average kitchen has.
Hosting changes the setup. Before a game day such as the designmode24 biggest sporting event, clear one low cabinet for platters and serving bowls.
See how much each upgrade adds in inches
One extra tier in an existing cabinet adds measurable storage faster than any other change.
The National Kitchen & Bath Association measures storage as shelf and drawer frontage. That is cabinet width times the number of shelves or drawers, times depth in feet. A 12-inch depth counts as 1 and a 24-inch depth counts as 2.
Applied to common cabinet sizes, the formula gives these gains:
| Upgrade | Cabinet | Added frontage |
| Extra pull-out tray tier | 30-inch-wide base, 24 inches deep | 60 inches |
| Extra pull-out tray tier | 18-inch-wide base, 24 inches deep | 36 inches |
| Extra shelf riser tier | 30-inch-wide wall, 12 inches deep | 30 inches |
These are calculated gains, not tested results.
Eight 30-inch base cabinets with one added tray each gain 480 inches. That is about a third of the 1,400-inch target for a small kitchen.
Good interior design counts storage in inches before it picks finishes, and you can do the same on paper before buying anything.
Photo sets on sites such as www. designmode24 can show where a second tier would fit in a cabinet like yours.
Choose by space, budget, and skill level
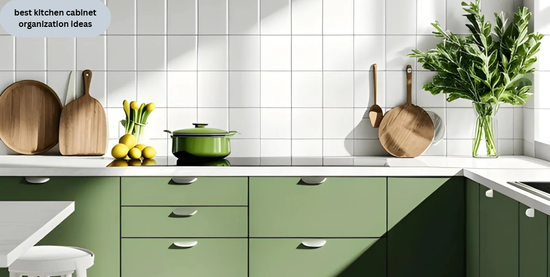
Renters and beginners should start with no-drill risers and dividers, while owners with basic tools can add pull-outs.
- Small kitchens: add tiers to the cabinets nearest the sink first.
- Renters: risers, over-door racks, and dividers need no drilling.
- Owners with basic tools: pull-out trays need measuring, drilling, and leveling.
- Heavy cookware: pick slides with a weight rating above your heaviest pot.
The same guidelines place 400 of those inches within 72 inches of the sink’s center. That keeps dish and prep storage where you use it.
Reach matters as much as space. The U.S. Access Board sets the unobstructed forward reach range at 15 to 48 inches above the floor. Store daily items inside that band and the whole household can reach them without a step stool.
If you’re also moving the sink or range, review kitchen organization first, because storage should follow where you prep.
Record each cabinet’s width, depth, and shelf count with a tape measure or with design tools tech such as a phone measuring app.
Plan the effort and the budget in the right order
Spend first on the cabinets you open every day, because those repay the effort fastest.
Then work from least to most effort:
- Dividers and risers, which need no drilling.
- Door racks, which hang over the door or mount with screws.
- Pull-out trays, which need measuring, drilling, and leveling.
Prices vary by brand and cabinet size, so total your cabinet count before you compare options.
Sort your saved photos on DesignMode24 into two piles, finishes and storage, and buy from the storage pile first.
When you browse photos filed under design designmode, count the drawers and trays instead of the door colors.
Skip these upgrades when the cabinet itself is failing
Organizers won’t help a cabinet with sagging shelves, swollen boxes, or an opening too narrow for the hardware. Repair or replace the cabinet first, then add storage.
Check the hardware’s stated minimum opening width before you buy any pull-out.
Before you contact designmode or any local studio about replacements, photograph each failing cabinet and note its width.
A search for designmode24 design can turn up cabinet photos to compare against your own.
If a cabinet is full of items you never use, remove those first. New containers take room too.
Quick answers on organizing kitchen cabinets
How do I organize kitchen cabinets when space is tight?
Add vertical tiers first, because risers and door racks use air you already have. Group items by task, keep daily pieces at easy reach, and send rarely used items to the top or bottom shelves. Remove duplicates before you buy any organizer, since extra containers take space too.
What is the best way to organize deep base cabinets?
Pull-out trays work best because they bring items from the back of the cabinet to the front. Choose full-extension slides with a weight rating above your heaviest pot. Group like items on each tray, so one pull gives you everything for a task.
How many inches of cabinet storage does a small kitchen need?
A kitchen under 150 square feet should offer 1,400 inches of shelf and drawer frontage in total, according to national kitchen design guidelines. 1,700 inches are required for medium kitchens that are between 151 and 350 square feet. Multiply the width of each cabinet by the number of shelves or drawers and the depth in feet, then total the findings.
Should heavy pots go in upper cabinets?
No, heavy pots belong in low drawers or pull-out trays, where you slide them out instead of lifting overhead. Keep upper cabinets for light items such as plates and glasses. Placing the weight low also lowers the risk of a dropped pot and a strained shoulder.
Measure what you have and start with one cabinet.
Tiers where space is lost are added in the best kitchen cabinet organizing ideas: drawers with dividers, wall cabinets with risers, and deep base cabinets with pull-out trays. Total your shelf and drawer frontage against the 1,400-inch target for a small kitchen, and spend first on the cabinets you open daily.
- Measure each cabinet’s width, depth, and shelf count, then add up your frontage.
- Empty the cabinet you open most and sort its contents by task.
- Add one tier or tray to that cabinet and use it before buying more.