
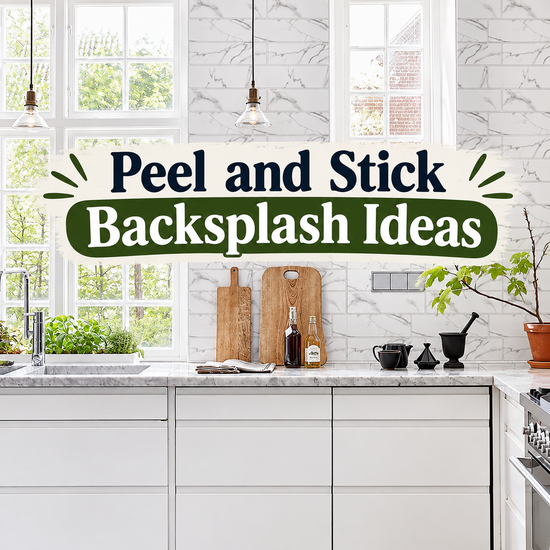
The best peel and stick backsplash ideas for renters use removable vinyl or gel tiles in subway, marble, or geometric patterns on clean, smooth walls. Choose a heat-rated product behind the stove, press each sheet firmly, and the whole upgrade finishes in one afternoon without a single drill hole.
Key Takeaways
- Self-adhesive tile sheets grip painted walls without drilling, mortar, or grout, so most lift off at move-out.
- Surface prep beats pattern choice: a clean, smooth, fully cured wall decides whether the sheets hold.
- Standard vinyl softens near burners, so a heat-rated product or a gap behind the cooktop protects the install.
- A 22.5 square foot kitchen needs about 25 one-square-foot sheets once you add 10 percent for cuts.
- A hair dryer on low heat and a slow, low-angle pull remove sheets without tearing paint.
What Is a Peel and Stick Backsplash?
A peel and stick backsplash is a set of self-adhesive tile sheets, usually vinyl, gel, or thin metal, that presses onto a wall in place of mortar and grout.
What Are the Best Peel and Stick Backsplash Ideas for Renters?
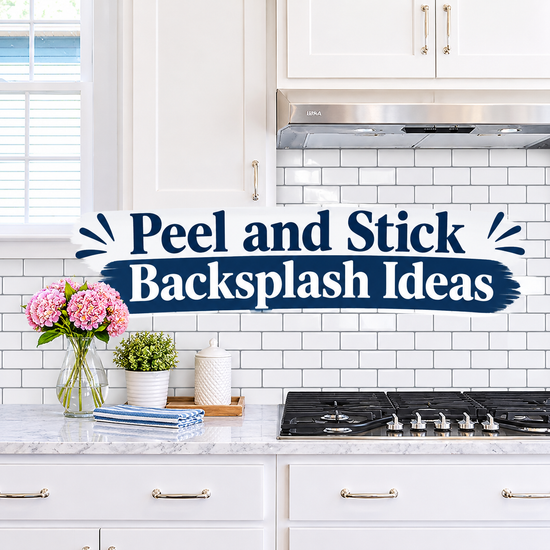
Classic tile looks in removable form win: subway, marble, hex, and zellige-style patterns lead the field. Pick one hero pattern and let the cabinets and counters stay quiet around it.
Harvard’s Joint Center for Housing Studies counted nearly 46 million U.S. renters in its 2025 State of the Nation’s Housing report. Most leases restrict permanent changes, so a finish that lifts off cleanly protects the deposit.
Strong interior design treats the backsplash as the surface that ties a room together, and removable sheets that control tenants. Peel and stick also suits rental apartment decor because it comes off on move-out day.
- White subway tile with gray grout lines, the safe classic.
- Carrara-look marble sheets, which pair well with white cabinets.
- Black hexagon mosaic for contrast against pale counters.
- Sage green zellige-style tile with a softly uneven sheen.
- Terracotta Spanish patterns for warmth behind the sink.
- Warm gray herringbone, which adds movement without color.
- Brushed stainless or brass-look metal sheets near the cooktop.
- Matte white penny rounds for a retro feel.
- Fish-scale tile, whose curves soften a narrow galley kitchen.
- Whitewashed faux brick for a loft or farmhouse look.
- Navy and cream cement-look geometrics.
- Glossy 3D gel subway tiles that mimic glass.
- Horizontal wood-look planks, kept out of the sink splash zone.
- A half-height run: tile the 18 inches above the counter and paint the rest.
- A three-row accent band behind the range, with plain paint around it.
The designmode24 design approach to small kitchens favors one confident pattern and calm surroundings, so most looks on this list stay simple.
How Much Does a Peel and Stick Backsplash Cost?
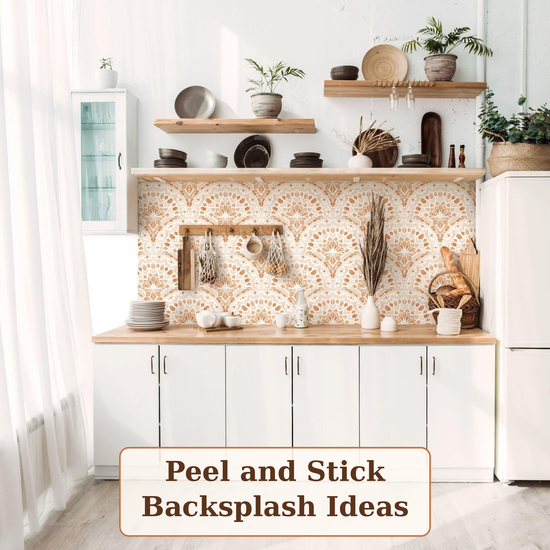
Peel and stick costs far less than tile because you skip labor, mortar, and grout. A budget kitchen makeover often starts here for exactly that reason.
Angi’s 2026 cost guide puts the national average for a professionally installed backsplash at $1,000 for 35 square feet. That works out to about $28.57 per square foot, so a 22.5 square foot kitchen runs near $643 when a tiler does the job.
One caution before the table: the first row is a whole-project low end, while every other row is a per-square-foot price that includes labor.
| Option | Reported cost | Total for 30 sq ft (calculated) | Source |
| Peel and stick tile | From $550, whole project | Varies by area | Angi (2025) |
| Ceramic tile | 12–32 per sq ft | 360–960 | Angi (2026) |
| Brick | 10–40 per sq ft | 300–1,200 | Angi (2026) |
| Beadboard | 18–26 per sq ft | 540–780 | Angi (2026) |
| Glass tile | 18–42 per sq ft | 540–1,260 | Angi (2026) |
| Natural stone | 20–68 per sq ft | 600–2,040 | Angi (2026) |
Brick and ceramic start at $300 and $360 for 30 square feet, and neither leaves with you at move-out. Peel and stick does.
Pair the wall with contact paper tricks that hide ugly apartment countertops, and the whole kitchen reads as one plan.
How Do You Install a Peel and Stick Backsplash?
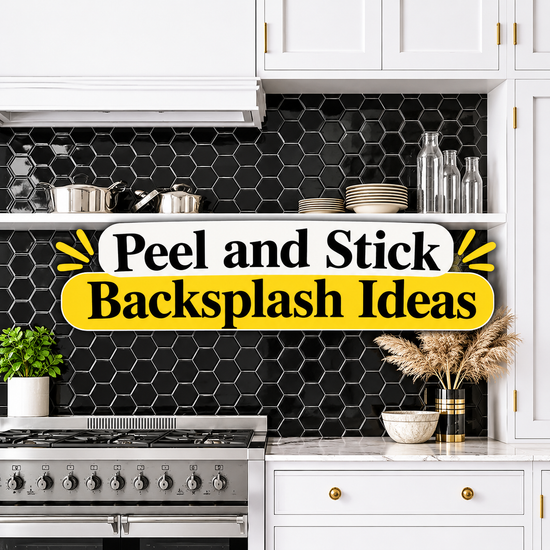
Work on a clean, dry, flat wall and follow six steps. Most kitchens take one afternoon.
Measure first. An 11-foot counter run plus a 4-foot return wall, both 18 inches high, covers 22.5 square feet. Add 10 percent for cuts and misalignments, and you order 25 sheets at one square foot each.
Run those numbers through designmode24 tools or a plain tape measure before you buy, because a replacement sheet from another dye lot rarely matches.
- Degrease the wall with dish soap and warm water, wipe it with isopropyl alcohol, and let it dry completely.
- Fill dents with spackles and sand them flat. Skip walls painted in the last three weeks.
- Pencil a level line, then start at the center of the focal wall so cut pieces land in the corners.
- Peel the backing back a few inches, align the sheet, and smooth outward with a plastic scraper.
- Cut around outlets with a utility knife after you switch off the breaker and remove the cover plates.
- Press every edge for 30 seconds and wait a day before wiping.
Borrow the layout rules from any design designmode24 kitchen guide: keep sightlines clear, choose one focal wall, and hide seams in the corners.
Can You Put Peel and Stick Backsplash Behind a Stove?
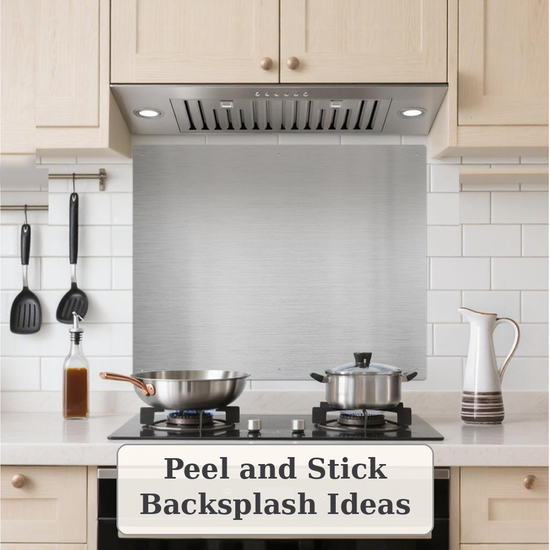
Only when the manufacturer rates the product for that spot. Standard vinyl softens near burners, and the adhesive creeps.
The usual mistake is running vinyl down to the cooktop on a gas range. Radiant heat and flare-ups push the sheet past its limit, so the adhesive loosens and the edges curl.
The fix takes ten minutes of reading. Find the minimum distance on the spec sheet, stop the vinyl at that line, and fill the gap with stainless steel. A stainless panel behind the burners with tile above it is a classic designmode24 interior move, and it wipes clean in seconds.
How Do You Remove a Peel and Stick Backsplash Without Damage?
Warm each sheet, then peel slowly at a low angle. Heat softens the adhesive so it releases from the sheet instead of ripping the paint.
Aim a hair dryer on low at one sheet for 20 to 30 seconds, lift a corner with a plastic card, and pull back along the wall rather than outward. Wipe residue with a rubbing-alcohol cloth after testing a hidden patch.
Photograph the bare wall before you install and date the file. At DesignMode24, the test for any renter upgrade is whether the wall looks untouched afterward.
Textured walls break the usual advice. On knockdown or orange-peel surfaces, bare drywall, or paint under three weeks old, the adhesive grips only the high points and the edges lift. Lean a stainless or acrylic panel against the wall instead, and contact designmode with a photo and your measurements, or browse the room guides on designmode24.com, if you want a no-adhesive layout.
FAQ
Do peel and stick backsplash tiles damage walls?
Most peel off fully cured satin or semi-gloss paint without damage, but flat or fresh paint can lift with the sheet. Warm each sheet with a hair dryer before pulling. Test a hidden patch first.
What is the lifespan of a peel-and-stick backsplash?
Quality sheets stay bonded for years on clean walls, and heat, grease, and steam set the real limit. Wipe spills the same day and press any lifting corner back down.
Is it possible to cover an existing tile with a peel-and-stick backsplash?
Yes, provided that the grout lines are shallow and the tile is clean. Deep grout lines telegraph through the vinyl and weaken the bond. Skim them flush with spackle first.
Is peel and stick backsplash waterproof?
It resists splashes but not standing water. Water that reaches the seams softens the adhesive, so run a thin bead of clear caulk along the sink and counter edges.
Will a landlord approve a peel and stick backsplash?
Landlords often accept it because it removes cleanly, but written approval protects your deposit. Send a photo of the product and promise to restore the wall at move-out.
Final Thoughts on Peel and Stick Backsplash Ideas
The best peel and stick backsplash ideas rest on three rules: a prepared wall, a heat-rated sheet near the stove, and one pattern that suits the room. Follow them, and a rented kitchen looks designed instead of temporary. Measure your wall today, order one spare sheet, and finish the job this weekend.